Controlling VSCP from a web page
 This article describes how to control VSCP events from a web page. It is based on websockets which connects to the VSCP daemon.
Web page
Button
To be able to trigger events on the VSCP bus from the web page, we will be using button elements. The onclick property of these button elements will refer to a function vscpButtonEvent, which will be passed the arguments index, zone and subzone.
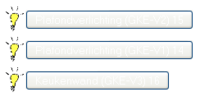
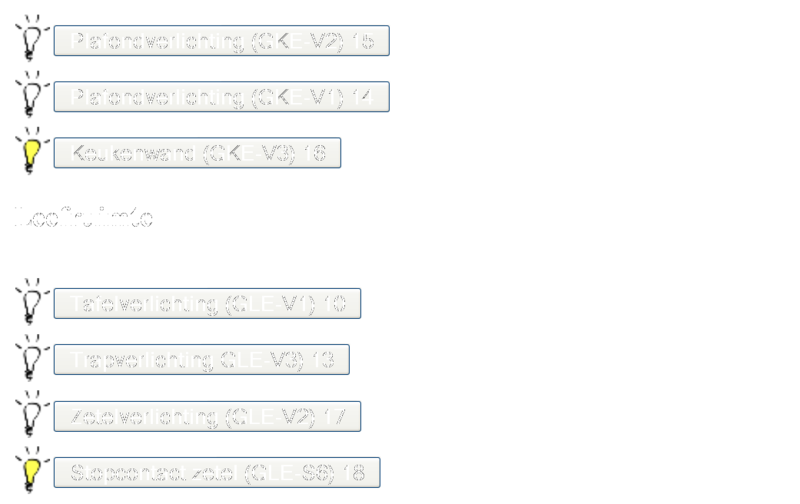
Here is an example button which sends an event with subzone 15. The button text is Plafondverlichting (ceiling light).
<button onclick="vscpButtonEvent(1, 1, 15)">
	Plafondverlichting (GKE-V2) 15
</button>
In my setup I am ignoring the index and zone settings, so these will always be 1.
Status indicator
The web page can read back the status of actuators through a canvas. This will place an indicator on the web page.
<canvas id="GKE_V2"
		style="z-index: 3;
		position:relative; left:2px; top:9px;" height="30px" width="22px">
Your browser does not support HTML5 Canvas.
</canvas>
The canvasses are linked to the correct VSCP actuator through the canvas id (in the above example, _GKE_V23).
The vscpws_stateButton()-function creates a new state button linked to this canvas, and sets some options.
Local state change controls whether the indicator should respond to local events or not. If set to true then the buttonpress on the web page itself will change the state of the indicator, if set to false then the indicator will respond to a state change of the corresponding variable in the VSCP daemon.
button appearance allows one to use different types / appearances of indicators. Type 93 is a light bulb that goes on and off.
var btn_GKE_V2 = new vscpws_stateButton( vscp_setting_user, vscp_setting_passwordhash, vscp_setting_url,
	'GKE_V2', false, 93 ); // Canvas name, local state change, button appearance
The values for vscp_setting_user, vscp_setting_passwordhash and vscp_setting_url are retrieved from the settings.js file (see below).
The setMonitorVariable() function links the canvas variable to a corresponding variable in the VSCP daemon. When this variable changes (e.g. due to a VSCP event), the indicator on the web page will be updated accordingly.
btn_GKE_V2.setMonitorVariable("OUTPUT_STATUS_SUBZONE15", 1000); // Update and monitor
Here the GKE_V2 canvas is linked to the OUTPUT_STATUS_SUBZONE15 variable in the VSCP daemon.
In order to give feedback on state changes of actuators, the latter variable will need to be updated based on VSCP events. This will be done using the decision matrix in the VSCP daemon.
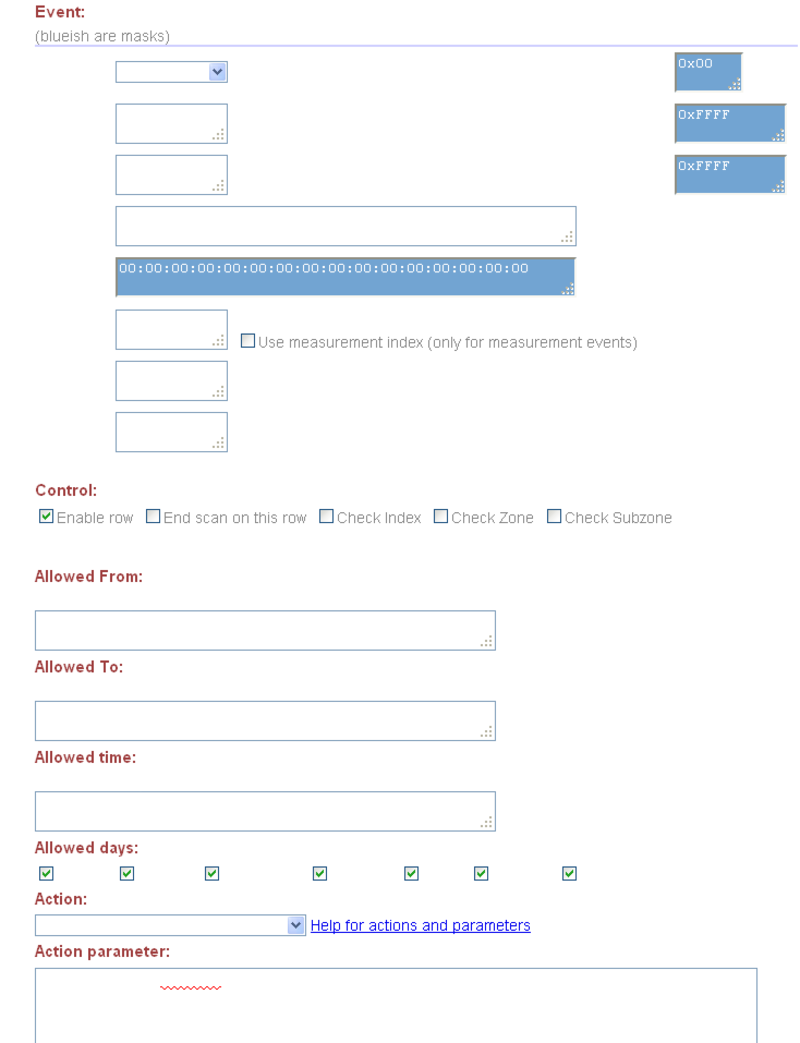
Decision matrix
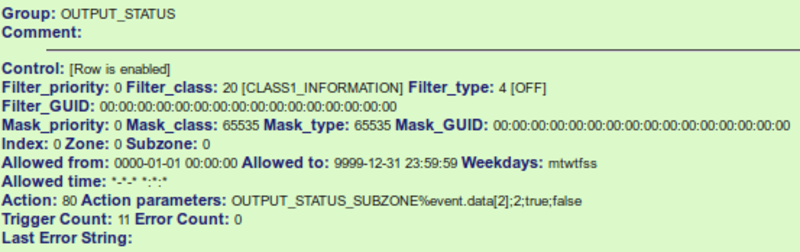
To avoid having to add 2 DM rows for each subzone, we can escape the subzone label in the action parameter field by substituting %event.data[2]. This escape will be replaced by the subzone each time this row of the DM is called.
Add 2 lines to the DM, 1 for the ON event and one for the OFF event.
Class: 20
Type: 3 (ON) or 4 (OFF)
GUID: 00:00:00:00:00:00:00:00:00:00:00:00:00:00:00:00
Index: 0
Zone: 0
Subzone: 0
Control: enable row
Allowed from: *
Allowed to: *
Allowed time: *
Allowed days: all
Action: store in variable
Action parameter:
for ON event: OUTPUT_STATUS_SUBZONE%event.data[2];2;true;true
for OFF event: OUTPUT_STATUS_SUBZONE%event.data[2];2;true;false
The Decision Matrix is stored in /srv/vscp/dm.xml, variables are stored in /srv/vscp/variables.xml.
Settings.js
As we saw above, some variable values are retrieved from the settings.js file so this needs to be configured properly.
The user, domain and passwordhash settings should be the same as in vscpd.conf.
var vscp_setting_user = "admin";
var vscp_setting_authdomain = "mydomain.com";
var vscp_setting_passwordhash = "d50b5180175c28527c22d52a379c3f67";  // hash on$
The vscp_setting_url should point to the place where websockets is listening, i.e. where the VSCP daemon web interface can be reached.
// Set the server where you have websockets installed.
var vscp_setting_url="ws://192.168.1.6:8082";  // Non SSL (to $
vscpd.conf
In the vscpd.conf file the web server should be enabled and configured. Websockets should also be enabled and pointed to the same port as the web server.
<webserver enable="true"
	port="8082"
    authdomain="mydomain.com"
	...>

   <websockets enable="true" auth="true" port="8082" />
</webserver>